Quick Start Guide
This guide will help you set up your first Relaye workflow in just a few minutes.
Overview
Setting up Relaye involves four main steps:
- Create an output (destination)
- Create an input (source)
- Create a connection between them
- Test your setup
graph LR
    subgraph "Relaye Setup Process"
        A[1. Create an Output] --> B[2. Create an Input]
        B --> C[3. Create a Connection]
        C --> D[4. Test Your Setup]
    end
Step 1: Create an Output
First, let's set up where you want your notifications to go:
- Navigate to the Outputs section in your dashboard
- Click New Output
- Choose an output type (e.g., Telegram, Slack, Discord)
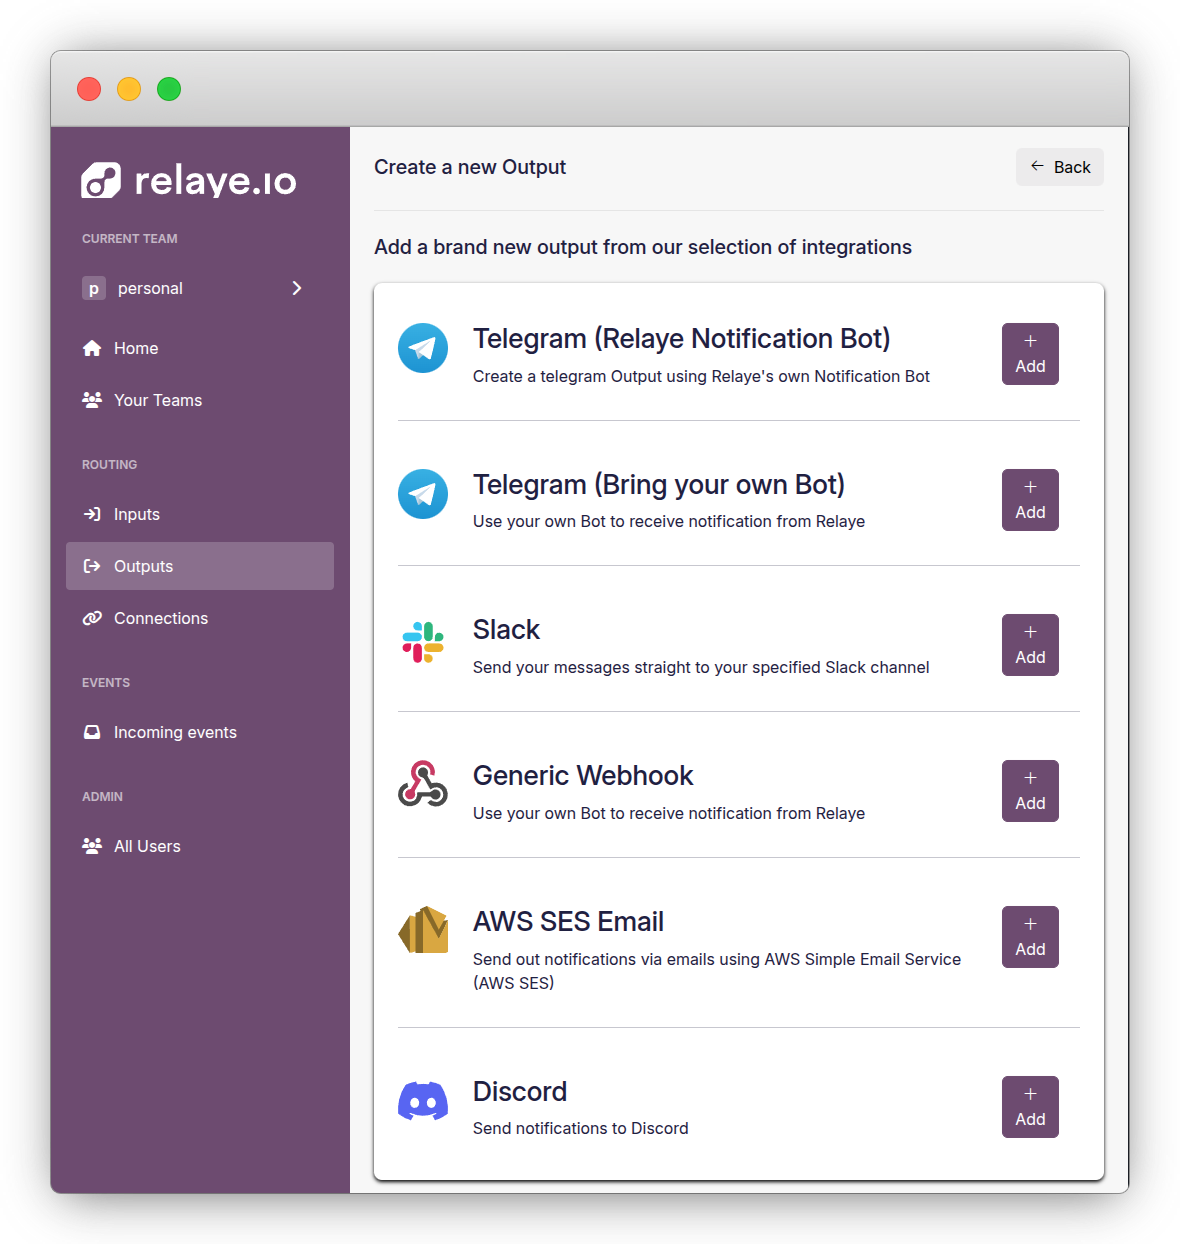
Telegram (Recommended for Beginners)
Telegram is one of the easiest outputs to set up:
- Select Telegram from the output types
- Open Telegram and add @relayebot to your chat or group
- Type
/relayelinkin the chat - Click the link provided by the bot (it will take you back to Relaye)
- Give your output a name (e.g., "Team Alerts")
- Click Save
Other Output Types
For other output types, follow the specific instructions on the setup page. Each integration has different requirements:
- Slack: Requires OAuth authorization
- Discord: Requires webhook URL configuration
- Email: Requires AWS SES credentials
- Webhook: Requires a destination URL
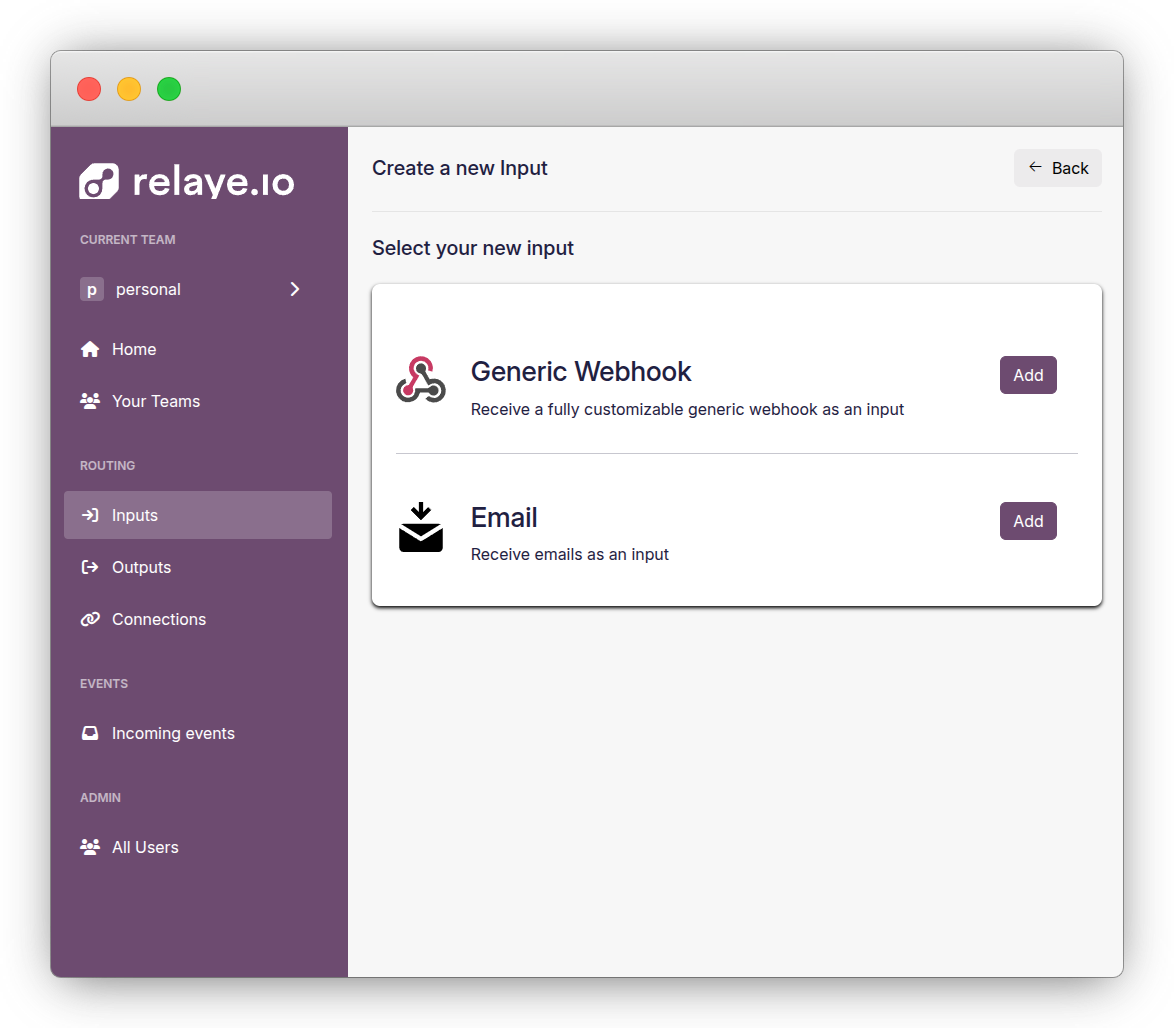
Step 2: Create an Input
Now, let's set up where your notifications will come from:
- Navigate to the Inputs section
- Click New Input
- Choose an input type (Generic Webhook is a good starting point)
- Give your input a descriptive name (e.g., "GitHub Alerts")
- Save to generate your unique webhook URL
After saving, you'll see your unique webhook URL. This is the URL you'll use to send notifications to Relaye.
Step 3: Create a Connection
Next, connect your input to your output:
- Go to the Connections section
- Click New Connection
- Select your input from the dropdown
- Select your output from the dropdown
- (Optional) Customize the template to format your notifications
- Save your connection
Step 4: Test Your Setup
Finally, let's make sure everything works:
- Send a test webhook to your input URL using curl:
curl -X POST https://your-relaye-instance/YOUR_TEAM_ID/YOUR_INPUT_TOKEN \
-H "Content-Type: application/json" \
-d '{"message": "This is a test notification from Relaye"}'
- Check your output channel (Telegram, Slack, etc.) to confirm you received the notification
- If needed, adjust your template to format the notification as desired

What's Next?
Now that you have your first Relaye connection set up, you can: